The Best Fluffy Pancakes recipe you will fall in love with. Full of tips and tricks to help you make the best pancakes.

Table of Contents
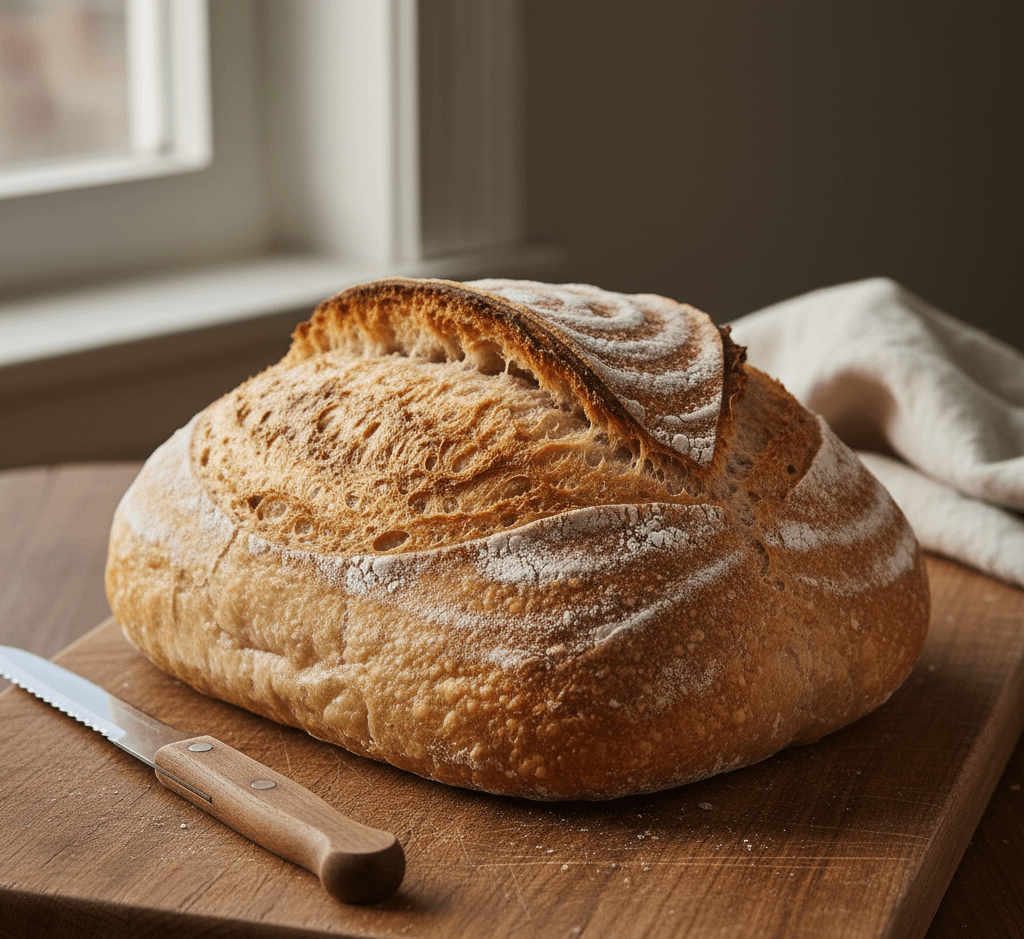
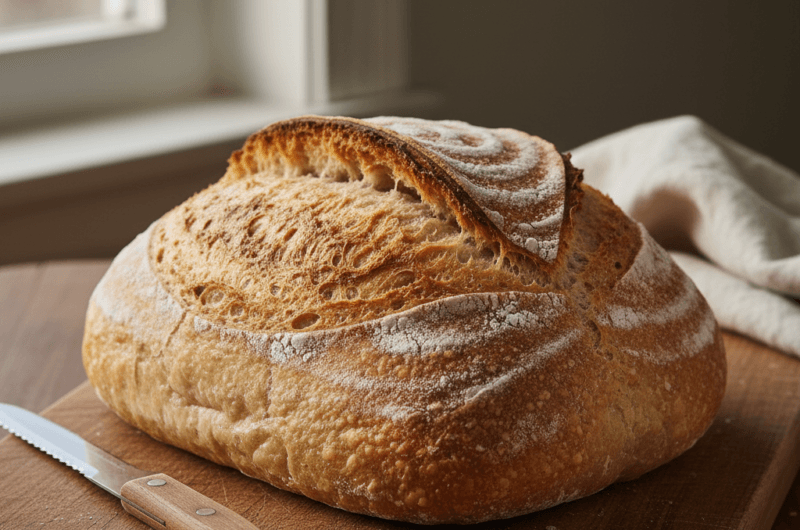
Sourdough bread is a naturally leavened loaf made using an active sourdough starter, flour, water, and salt, relying on slow fermentation instead of commercial yeast to develop rise and flavor. This sourdough bread recipe is designed for home bakers who want a dependable method that produces a crusty loaf with a soft, airy interior—without complicated techniques.
I’ve baked sourdough in home kitchens with varying temperatures and schedules, and this method is the one I return to because it’s flexible, forgiving, and consistently produces good bread, even for first-time bakers.
What This Recipe Is
Sourdough bread is a fermented bread made by using a live sourdough starter to naturally leaven dough over an extended period.
At a basic level, the starter provides wild yeast for rise and lactic acid bacteria for flavor. Slow fermentation strengthens gluten naturally and improves texture without heavy kneading. This method works because time does the work instead of force. Beginners often assume sourdough requires constant attention, but in reality, the process is mostly waiting and observing.
Why Make Sourdough Bread at Home
Making sourdough bread at home gives you better flavor, better texture, and full control over ingredients.
Homemade sourdough develops a deeper, more complex taste than store-bought bread. It’s more economical over time, especially once you maintain a starter. You also avoid preservatives and can adjust hydration and flour types to suit your preference. I continue baking sourdough at home because no commercial loaf matches the freshness and character of a handmade one.
Key Ingredients and Why They Matter
The best sourdough bread starts with a mature, active starter and simple, reliable ingredients.
Bread flour provides structure and strength, allowing the dough to trap gas during fermentation. Water hydrates the flour and controls dough consistency, while salt strengthens gluten and balances flavor. The sourdough starter supplies both leavening and acidity, which improves shelf life and texture. Whole wheat flour can be added for flavor, but white bread flour offers the most predictable results for beginners.
Easy Sourdough Bread at Home
Course: BreadCuisine: InternationalDifficulty: MediumServings
1
loafPrep time
30
minutesFermentation time
13
hoursCalories
300
kcalBaking Time
40
minutesTotal time
14
hours10
minutesThis sourdough bread is naturally leavened using an active starter and slow fermentation. It works well for home bakers because the process relies on time and observation rather than heavy kneading.
Ingredients
Bread flour – provides structure and chew
Water – hydrates the dough and controls texture
Active sourdough starter – leavens and flavors the bread
Salt – strengthens gluten and balances fermentation
- Optional Add-Ins
Whole wheat flour for deeper flavor
Rice flour for dusting during shaping
Dutch oven for consistent oven spring
Directions
- Mixing and Autolyse:
Start by mixing flour and water until no dry spots remain. Let the dough rest. This rest allows the flour to hydrate fully and begins gluten development without effort. The dough will feel smoother and easier to handle afterward. - Adding Starter and Salt:
Once rested, incorporate the starter and salt. The dough may feel sticky at first, which is normal. Gentle folding helps distribute ingredients evenly without tearing the developing structure. - Bulk Fermentation:
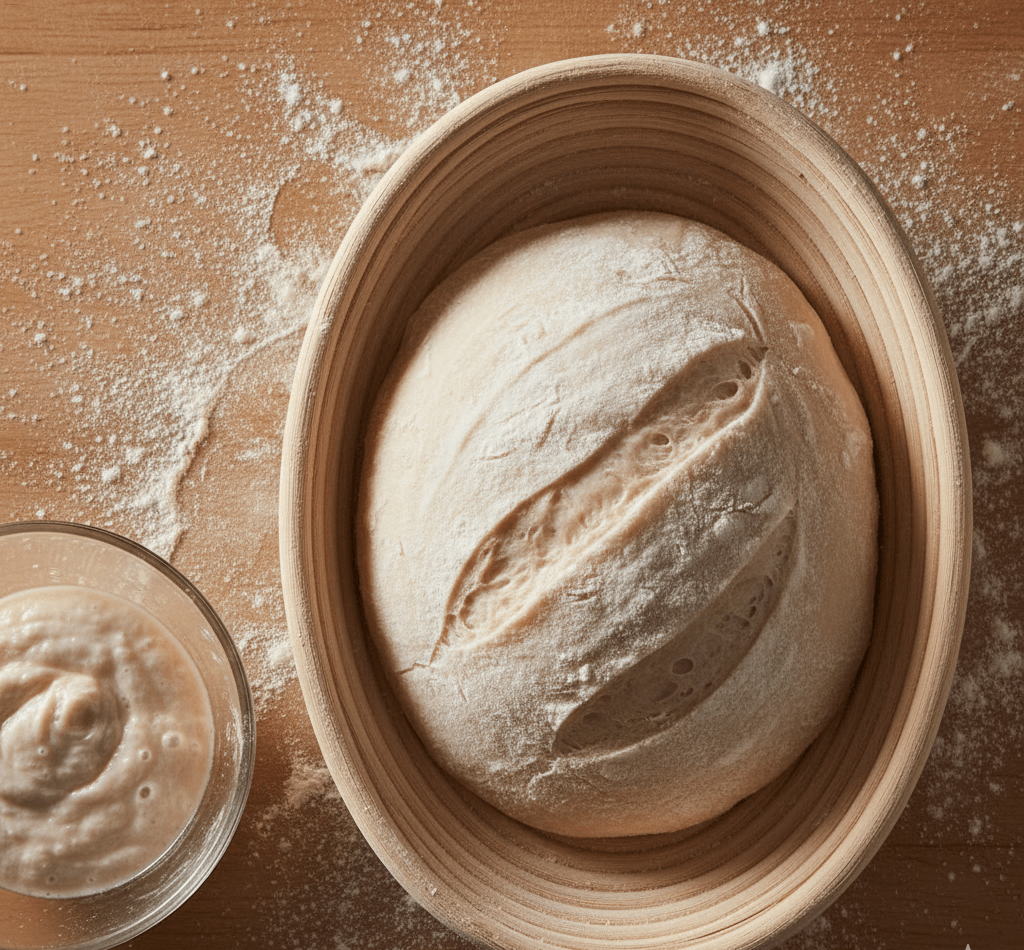
During bulk fermentation, the dough rests at room temperature and is gently folded a few times to build strength. Over several hours, it becomes airy, elastic, and slightly domed. This stage determines the bread’s final texture and should not be rushed. - Shaping and Final Proof:
After bulk fermentation, shape the dough gently, preserving trapped air. The shaped loaf then rests again, either at room temperature or refrigerated, allowing flavor to deepen and structure to set. - Baking:
Bake the dough in a hot oven, ideally in a preheated Dutch oven. Steam during the first part of baking allows maximum rise. The loaf is done when deeply golden with a hollow sound when tapped.
Notes
- Most sourdough bread problems come from under-fermentation or rushing the process.
Temperature affects timing more than the clock ever will. Warm kitchens speed fermentation, while cooler ones slow it down. - The dough should feel elastic and slightly airy before shaping, not dense or stiff. Smell should be mildly tangy, not sharp or unpleasant.
- For first-time bakers, focus on observing the dough instead of following exact hours. Consistency in handling matters more than perfect measurements. Small hydration adjustments can make shaping easier, and each bake teaches you something valuable.
How to Know When the Dough Is Ready to Bake
Sourdough bread is ready to bake when the dough has completed its final proof and slowly springs back when gently pressed.
Visually, the dough should look slightly puffy but not collapsed. The surface should feel airy and elastic. Aroma should be mild and fermented, never sour or alcoholic. These signs matter more than exact proofing times.
Common Problems and Fixes
My bread is dense — what went wrong?
Dense bread usually means under-fermentation. Allow longer bulk fermentation next time.
The dough spreads instead of holding shape — is it ruined?
No. This often means hydration is high or gluten is underdeveloped. Use slightly less water or add an extra fold.
My loaf didn’t rise in the oven — why?
This can happen if the dough was over-proofed. Reduce final proof time slightly on your next bake.
Storage and Keeping Sourdough Fresh
Once baked, allow the bread to cool completely before slicing.
For short-term storage, keep the loaf cut-side down at room temperature. For longer storage, freeze sliced bread in an airtight bag. Avoid refrigerating bread, as it dries it out. I usually freeze half the loaf and refresh slices in the oven when needed.
How to Use This Sourdough Bread Next
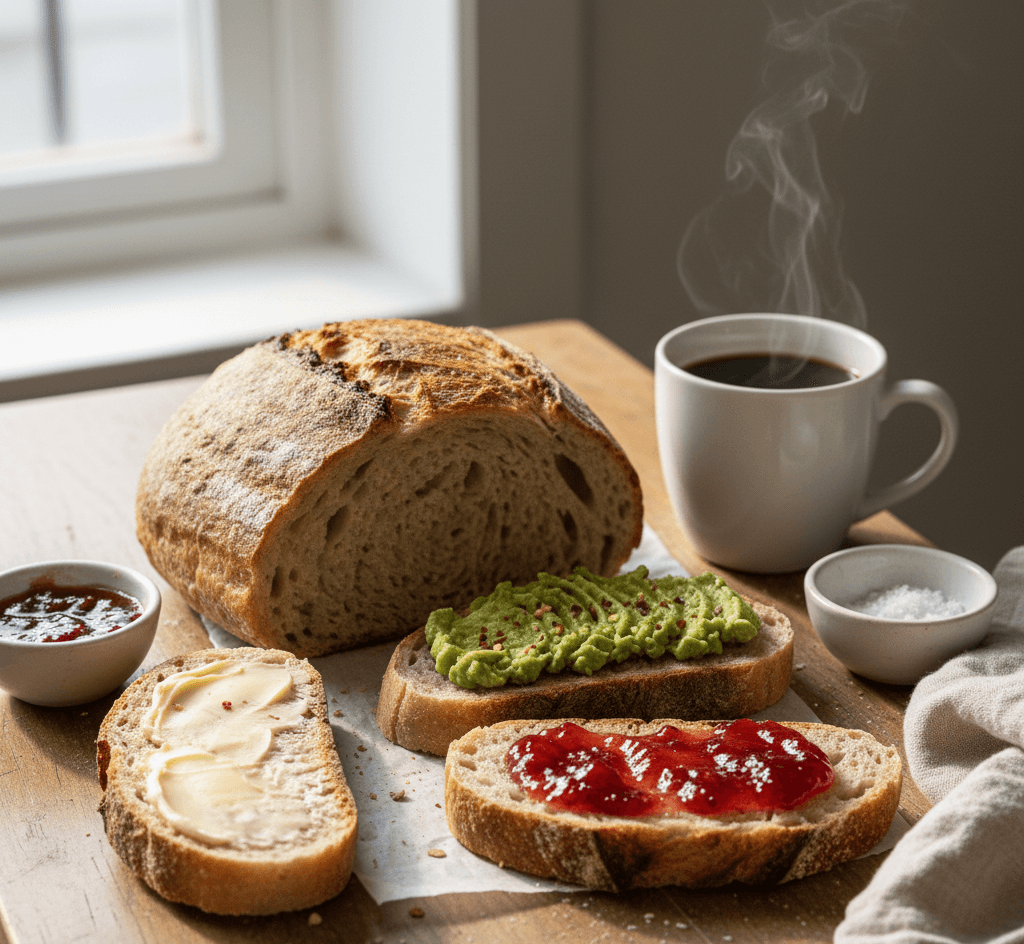
This sourdough bread is perfect for sandwiches, toast, and dipping.
It also works well as a base for grilled cheese, bruschetta, or bread crumbs. Once comfortable with this loaf, you can explore variations like seeded sourdough, whole wheat sourdough, or adjusting hydration for a more open crumb.
Conclusion
This sourdough bread recipe is designed to be reliable, flexible, and approachable for home bakers. You don’t need perfection—just patience, observation, and consistency. With each bake, your understanding improves, and the bread gets better. Once you master this loaf, sourdough becomes a rewarding, long-term skill rather than a one-time project.