The Best Fluffy Pancakes recipe you will fall in love with. Full of tips and tricks to help you make the best pancakes.

Table of Contents
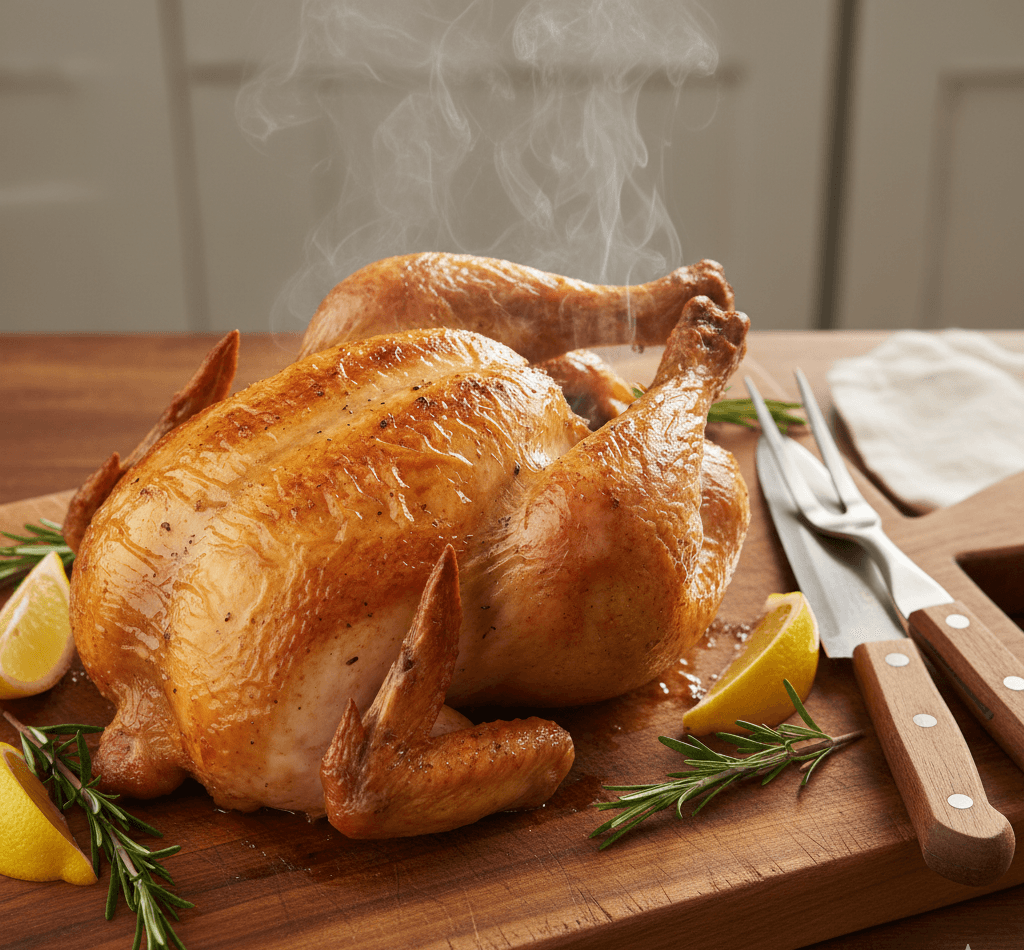
Cooking a whole chicken in the air fryer sounds ambitious, but it’s one of the most reliable ways I’ve found to get juicy meat and deeply crisp skin without turning on the oven. The controlled airflow does the hard work for you, circulating heat evenly around the bird and helping fat render naturally instead of steaming the skin. I reach for this method when I want a dependable centerpiece meal that doesn’t require babysitting or complicated steps. It’s especially useful on busy days when I still want something that feels complete and satisfying, not rushed or improvised.
What surprises most people is how forgiving this method is once you understand the basics. You don’t need elaborate marinades or special equipment beyond a properly sized air fryer. The key is knowing how airflow, temperature, and timing work together so the chicken cooks through without drying out. This recipe focuses on clarity and repeatability, not tricks. Once you understand why each step matters, you can adapt the seasoning and serving style easily while keeping the same dependable results.
Why a Whole Chicken Works So Well in the Air Fryer
A whole chicken benefits from air fryer cooking because the appliance essentially acts like a compact convection oven with more aggressive airflow. That airflow constantly moves hot air across the surface of the chicken, which encourages even browning and efficient fat rendering from the skin. Unlike oven roasting, where heat can be uneven or slow to penetrate, the air fryer surrounds the chicken from all sides, reducing hot spots and overcooked areas.
Another advantage is moisture retention. Because the chicken cooks faster than in a traditional oven, it spends less time losing moisture. The breast meat stays tender while the legs reach a safe temperature without drying out. The skin, meanwhile, crisps naturally as surface moisture evaporates quickly in the circulating heat. This balance is difficult to achieve with other methods unless you use multiple temperature stages or constant monitoring.
For home cooks, this means fewer variables to manage. Once you understand how size, temperature, and resting affect the final result, the process becomes reliable. That reliability is what makes air fryer whole chicken a repeat recipe rather than a one-time experiment
How to Prepare the Chicken Before Cooking
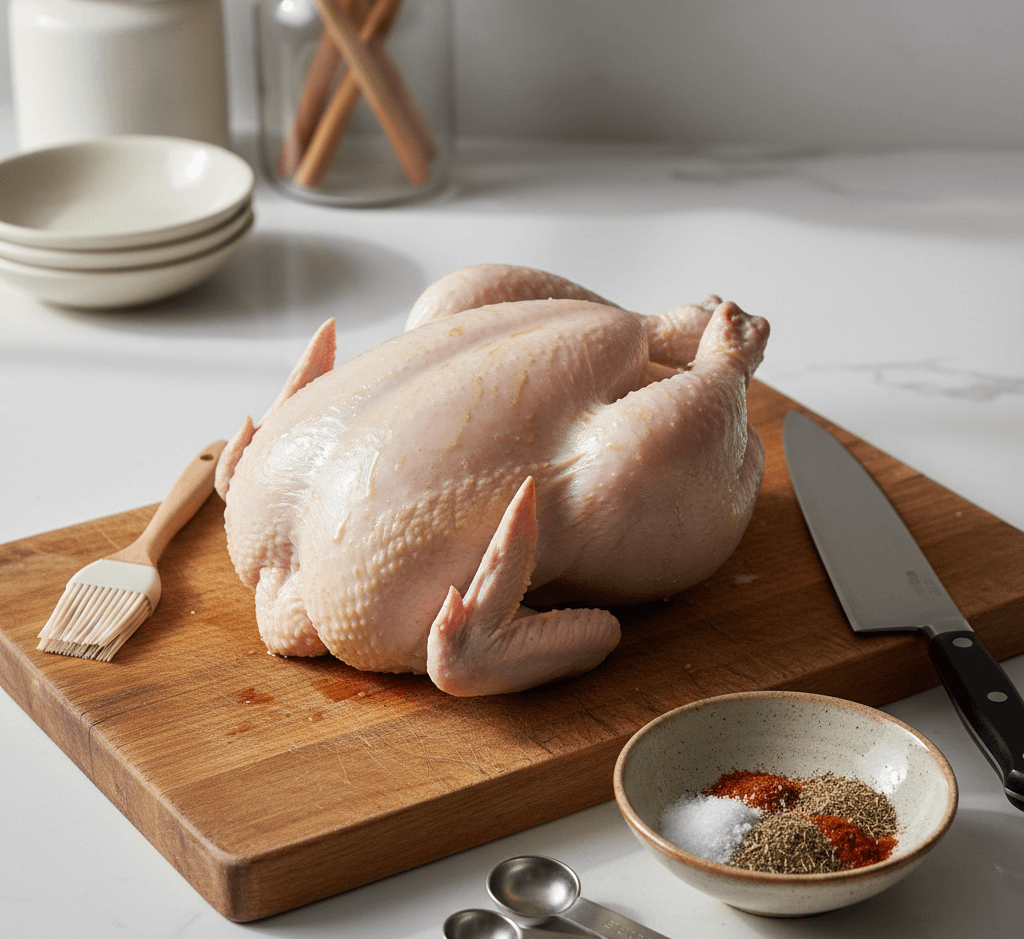
Preparation sets the stage for everything that follows. I always start by patting the chicken completely dry, including the cavity. Moisture is the enemy of crisp skin, and removing it makes a noticeable difference. From there, I check for excess fat around the cavity opening and trim only what hangs loose, leaving the rest intact for flavor.
Trussing is optional, but it can help with even cooking. Bringing the legs closer to the body reduces exposed joints that cook too quickly, while keeping the breast protected. If you skip trussing, positioning becomes more important, and you’ll want to check doneness carefully toward the end.
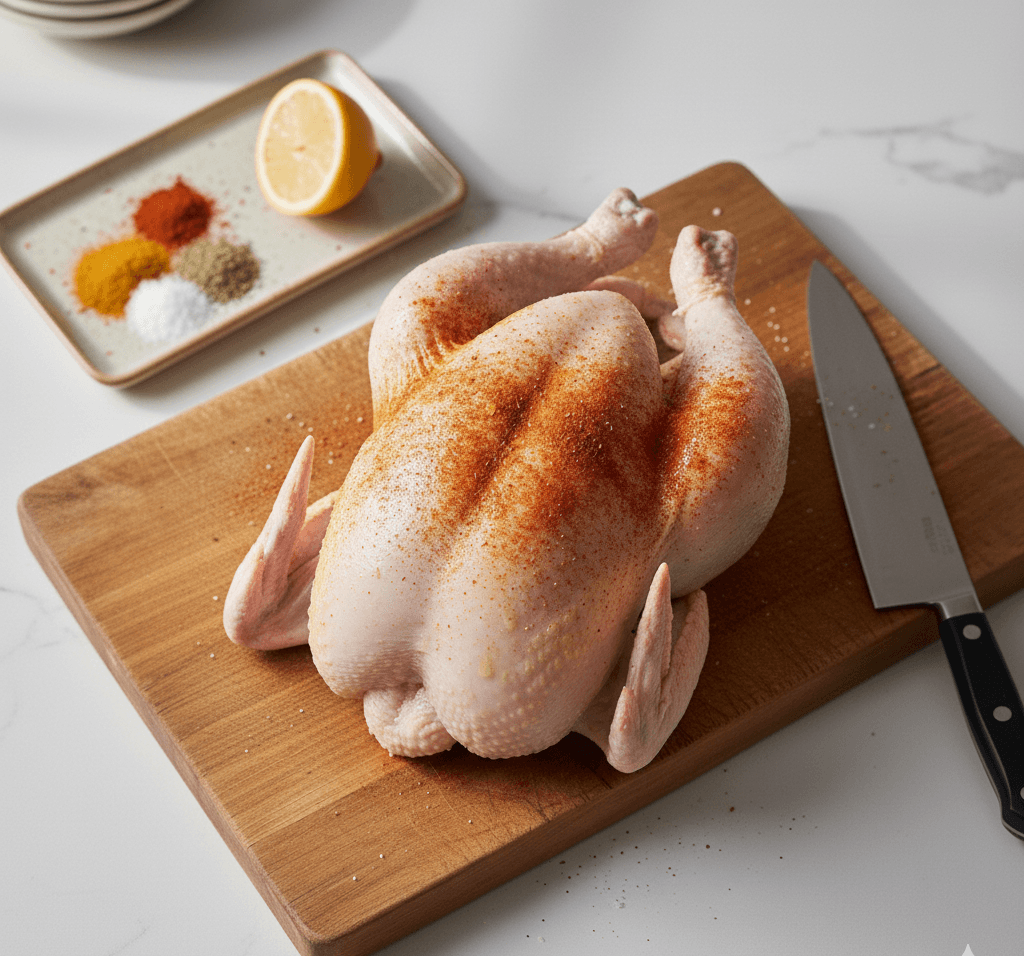
Letting the seasoned chicken rest briefly before cooking allows the salt to begin penetrating the meat. This small pause improves flavor without extending prep time significantly. These steps may seem simple, but together they create a foundation for reliable results.
Air Fryer Temperature and Timing That Actually Works
Temperature control is where most air fryer whole chicken attempts succeed or fail. Starting too hot can brown the skin before the interior cooks through, while starting too low can dry out the meat before the skin crisps. I rely on a moderate initial temperature to allow even heat penetration, then finish slightly higher to set the skin.
Timing varies by size and air fryer model, which is why visual and temperature cues matter more than the clock. The chicken should cook steadily, with skin gradually deepening in color rather than jumping from pale to dark. If your air fryer runs hot, adjusting the temperature slightly lower is better than shortening the cooking time drastically.
Turning the chicken partway through can help in basket-style air fryers, but it’s not always necessary. What matters is maintaining airflow and monitoring progress. This approach reduces stress and leads to consistent doneness without constant intervention.
How to Tell When the Chicken Is Properly Cooked
Doneness is about confidence, not guesswork. I always rely on internal temperature as the final indicator, checking the thickest part of the breast and the inner thigh. The juices should run clear, and the joints should move easily when gently pressed.
Visual cues support what the thermometer tells you. The skin should be evenly browned, not blistered or pale. The chicken should feel firm but not tight, indicating the meat has cooked through without drying. If one area finishes faster, resting will help balance moisture throughout the bird.
Trusting these signs allows you to remove the chicken at the right moment. Overcooking out of caution is the most common mistake, and it’s avoidable once you understand what properly cooked chicken looks and feels like.
Resting the Chicken for Juicy Results
Resting is not optional if you want juicy meat. When the chicken comes out of the air fryer, the juices are concentrated toward the center due to heat. Letting it rest allows those juices to redistribute evenly, preventing them from spilling out when you carve.
I rest a whole chicken loosely tented, allowing steam to escape so the skin stays crisp. Cutting too soon softens the skin and dries the meat, undoing the benefits of careful cooking. Even a short rest improves texture and flavor noticeably.
This step requires patience, but it rewards you with better slices and more consistent moisture. It’s one of the simplest ways to improve results without changing anything else.
Air Fryer Whole Chicken That Turns Out Juicy Every Time
Course: MainCuisine: InternationalDifficulty: MediumServings
4
servingsPrep time
10
minutesCooking time
50
minutesTotal time
1
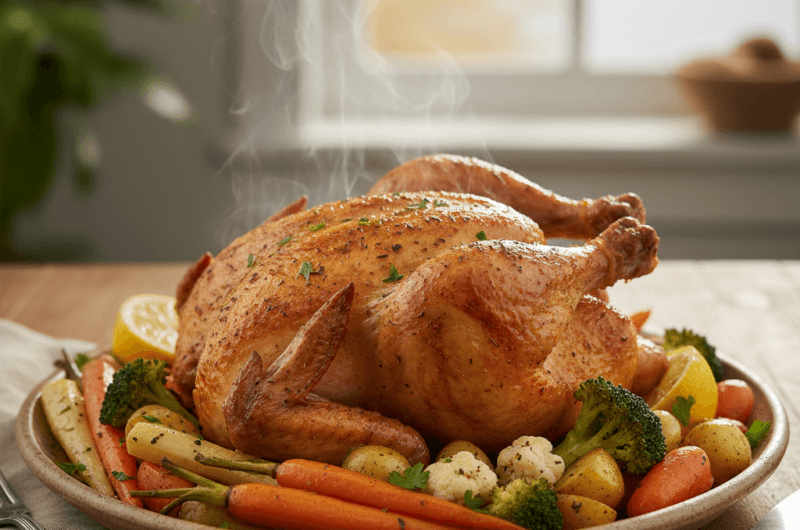
hourThis air fryer whole chicken delivers juicy meat and crisp skin using simple seasoning and controlled airflow. It’s a reliable method for a complete, hands-off meal with consistent results.
Ingredients
Whole chicken (3–4 lb)
Salt
Neutral oil
Optional Helpful Add-Ins
Garlic powder
Paprika
Dried herbs
Directions
- This method focuses on steady cooking and airflow rather than complicated steps. Start by drying and seasoning the chicken thoroughly, ensuring even coverage. Place the chicken breast-side down in the air fryer basket, allowing space for air to circulate freely. Cook at a moderate temperature to allow heat to penetrate evenly, then turn and finish at a slightly higher setting to crisp the skin.
- Each phase serves a purpose. The initial stage cooks the interior gently, while the finishing stage sets the skin. Monitoring doneness rather than the clock ensures reliable results regardless of air fryer model. Once cooked, remove the chicken and allow it to rest before carving.
Notes
- If the chicken browns too quickly, the temperature is likely too high for your specific air fryer model. Adjusting down slightly prevents surface burning while allowing the interior to cook through.
- Consistency matters more than precision when seasoning. Even coverage produces better results than exact measurements, especially with salt.
- Observe texture and color changes during cooking. These cues tell you more than time alone and help prevent overcooking.
- For first-time cooks, start with a smaller chicken to build confidence. The process becomes easier to manage and more forgiving.
Common Air Fryer Mistakes With Whole Chicken
Most problems come from overcrowding, excess moisture, or temperature mismanagement. Placing the chicken too close to the heating element causes uneven browning and can scorch the skin before the inside is ready. Using liners that block airflow creates steaming rather than roasting.
Another common issue is over-seasoning with sugary spices, which burn quickly in the air fryer’s intense heat. Keeping seasoning balanced avoids bitterness and preserves the chicken’s natural flavor. Opening the air fryer too frequently also disrupts cooking, slowing progress and affecting texture.
Understanding these pitfalls helps you avoid frustration and achieve consistent results, especially if you’re new to cooking whole chicken this way.
Storing Leftovers and Reheating Without Drying
Proper storage preserves both flavor and texture. I refrigerate leftovers once fully cooled, keeping larger pieces intact to reduce moisture loss. Airtight containers help maintain freshness without trapping condensation.
For reheating, gentle heat works best. The air fryer can reheat portions effectively if you lower the temperature and watch closely. Covering loosely during reheating prevents the surface from drying before the interior warms through. Microwaving is faster but benefits from a brief rest afterward to redistribute heat.
Handled correctly, leftovers stay enjoyable rather than becoming an afterthought.
Frequently Asked Questions
Can I cook a frozen whole chicken in the air fryer?
It’s not recommended. Frozen chickens cook unevenly and prevent proper seasoning and browning.
Do I need to flip the chicken?
Flipping helps in basket-style air fryers but isn’t mandatory in oven-style models with even airflow.
What if my chicken touches the heating element?
Choose a smaller chicken or adjust placement. Contact restricts airflow and risks uneven cooking.
Can I use this method for flavored variations?
Yes, dry spice blends work well. Avoid wet marinades that add surface moisture.