The Best Fluffy Pancakes recipe you will fall in love with. Full of tips and tricks to help you make the best pancakes.

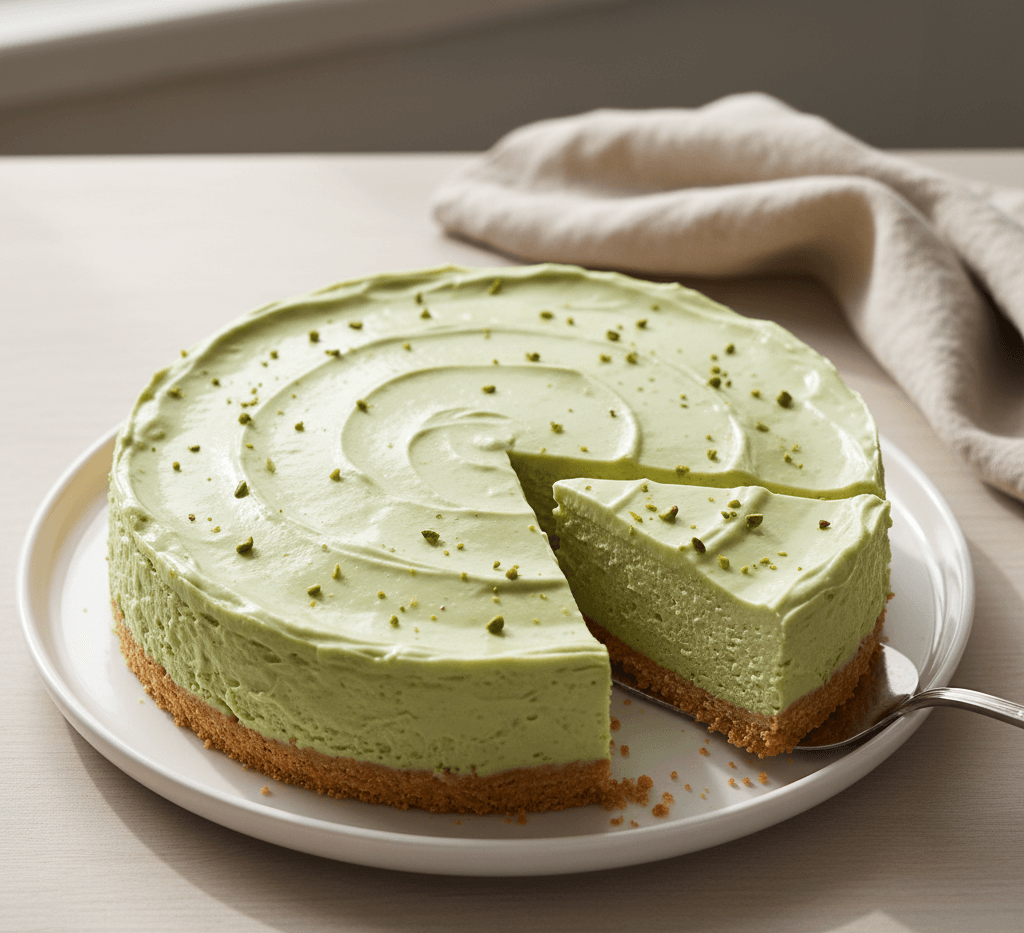
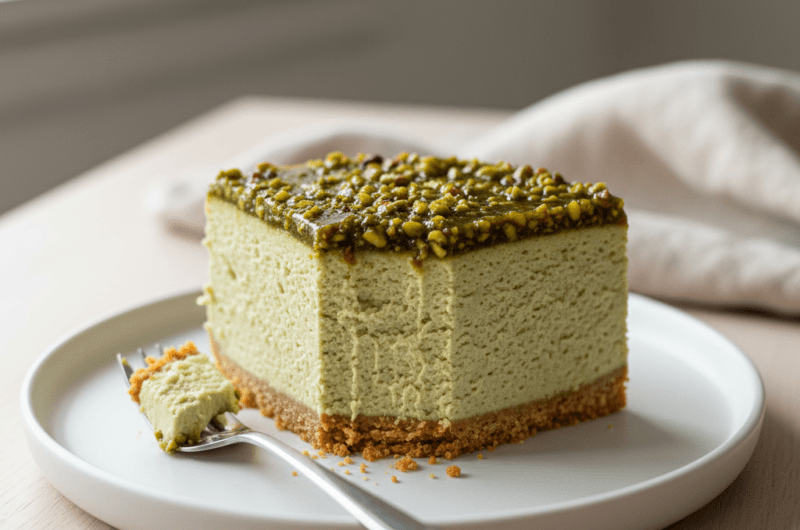
No-bake pistachio cheesecake is a creamy, chilled dessert made with a buttery biscuit base, a light cream cheese filling, and a smooth pistachio topping—without ever turning on the oven. This recipe is perfect for anyone who wants an indulgent, elegant dessert that feels special but doesn’t require baking skills or complicated techniques.
I first made this cheesecake for a small family gathering when I needed a dessert that looked impressive but wouldn’t keep me in the kitchen all day. It disappeared far faster than I expected, and since then, it’s become one of my most reliable no-bake desserts. What I love most is how balanced it feels—rich without being heavy, nutty without being overpowering, and creamy in a way that stays light and refreshing.
What This No-Bake Pistachio Cheesecake Is
No-bake pistachio cheesecake is a chilled cheesecake made by setting a cream-based filling in the refrigerator rather than baking it.
Technically, this recipe works because whipped cream provides structure as it chills, while cream cheese adds richness and stability. The biscuit base firms up when butter solidifies, creating a sturdy foundation without baking. The pistachio topping sets gently as it cools, forming a glossy layer that reinforces both flavor and texture.
One common misconception is that no-bake cheesecakes are loose or unstable. When properly chilled and assembled with the right ratios, this cheesecake slices cleanly and holds its shape beautifully. I’ve found that patience during chilling matters far more than precision during mixing.
Why Make This Cheesecake at Home
Making no-bake pistachio cheesecake at home gives you complete control over sweetness, texture, and flavor balance.
Store-bought versions often rely on artificial flavoring or excessive sweetness to mimic pistachio flavor. When you make it yourself, the nutty notes come from real pistachios and pistachio cream, which creates a more natural and satisfying result. Homemade also allows you to adjust richness depending on the occasion, whether you’re serving it after a heavy meal or as a light dessert.
Personally, I prefer this homemade version because it’s stress-free. There’s no worrying about cracks, water baths, or oven temperatures, and the cheesecake actually improves as it chills.
Key Ingredients and Why They Matter
The most important ingredient in this recipe is full-fat cream cheese, which gives the filling its body and creamy mouthfeel.
Cream cheese provides structure and richness, while whipped cream lightens the filling so it doesn’t feel dense. Powdered sugar dissolves easily, keeping the texture smooth. Finely chopped pistachios add subtle crunch and reinforce flavor without overwhelming the creaminess. The biscuit base relies on butter to bind the crumbs and create a firm, sliceable crust.
For the topping, pistachio cream delivers concentrated nutty flavor and a glossy finish. I’ve learned through experience that gently melting it rather than overheating preserves both texture and taste.
No-Bake Creamy Pistachio Cheesecake
Course: DessertCuisine: InternationalDifficulty: EasyServings
6-8
servingsBase chill
15
minutesChilling time
2
hours30
minutesCalories
380
kcalTotal time
2
hours45
minutesA no-bake pistachio cheesecake with a buttery biscuit base, airy cream cheese filling, and a creamy pistachio topping.
Ingredients
- For the base
200 g biscuits
120 g butter, melted
- For the filling
170 g cream cheese
250 ml whipped cream
1 sachet whipped cream powder
60 g powdered sugar
2 tablespoons finely chopped pistachios
- For the topping
170 g melted pistachio cream
Directions
- Prepare the biscuit base
Start by crushing the biscuits into fine crumbs using a food processor or a rolling pin inside a sealed bag. Mix the crumbs thoroughly with melted butter until fully combined. Press the mixture firmly into the base of a lined cake pan to create an even, compact layer. I like to press it with the back of a spoon so it’s smooth and level. Chill the base in the refrigerator for at least 15 minutes while preparing the filling to help it firm up. - Beat the cream cheese filling
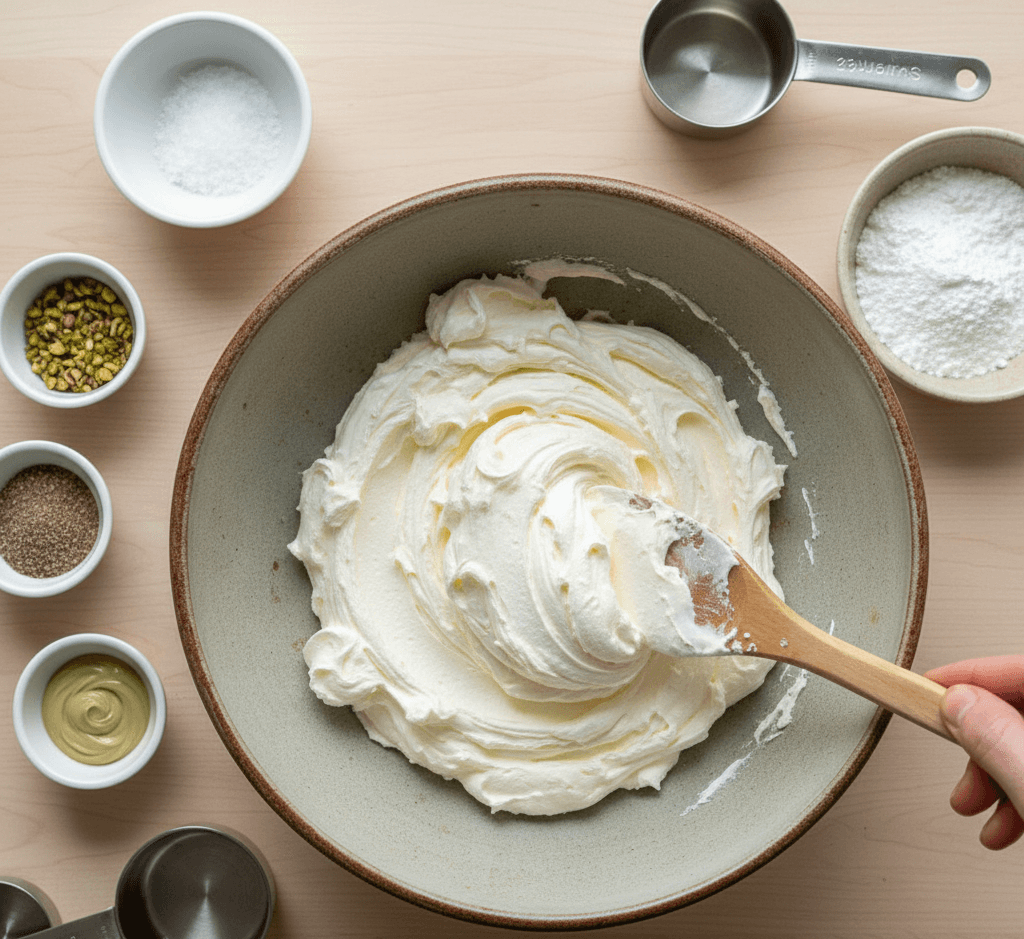
In a large mixing bowl, beat the cream cheese until smooth and creamy using a hand whisk or electric mixer. Add the whipped cream powder and powdered sugar, mixing until fully incorporated. Fold in the whipped cream gently using a spatula, taking care not to deflate it. Finally, stir in the finely chopped pistachios for subtle crunch. The first time I made this, I accidentally overfolded the whipped cream, and it still turned out light—but keeping it airy makes the texture perfect. - Assemble the cheesecake
Spread the filling evenly over the chilled biscuit base. I usually spoon the mixture into the pan in sections and then smooth it out with an offset spatula to avoid air pockets. Level the top and lightly tap the pan on the counter to settle the filling evenly. Place it back in the refrigerator for at least 2 hours, or until firm. - Prepare the pistachio topping
While the filling chills, gently melt the pistachio cream over low heat until smooth and pourable. Be careful not to overheat it, as it can separate. I like to stir continuously with a small whisk to keep it glossy and smooth. Allow it to cool slightly before pouring over the cheesecake. - Finish the cheesecake
Once the filling is firm, pour the melted pistachio cream evenly over the top. Use a spatula to spread it gently to the edges for a uniform layer. Refrigerate for another 20–30 minutes to let the topping set slightly. The first time I served it, the glossy topping made it look so elegant, and it tasted even better than I imagined. - Serve and enjoy
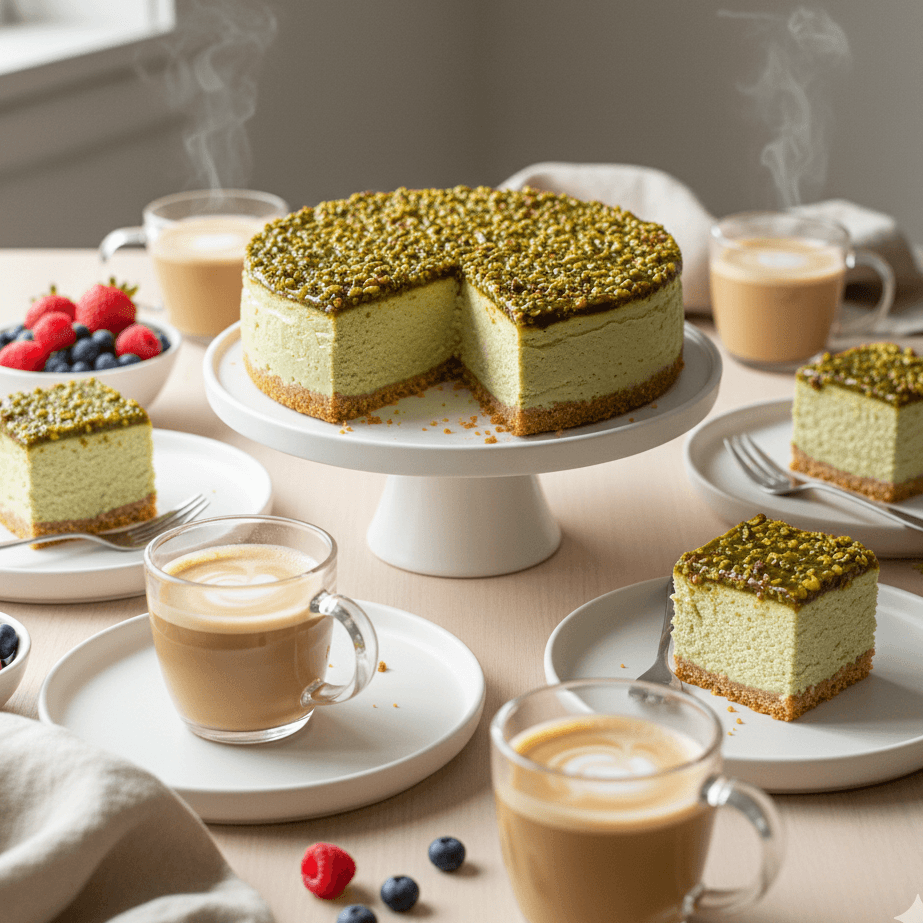
Slice carefully with a sharp knife, wiping the blade between cuts for clean slices. This cheesecake can be served as is, or paired with fresh berries or a light dusting of powdered sugar. It’s perfect for family gatherings, afternoon tea, or a no-fuss dinner party dessert.
Notes
- This cheesecake is best served chilled and can be stored in the refrigerator for up to three days. Making it a few hours ahead allows the biscuit base to firm up and the flavors to meld.
- Lightly toasting the pistachios before folding them into the filling adds extra flavor and crunch.
- If pistachio cream is unavailable, smooth almond or hazelnut spreads make a suitable alternative.
- For a cleaner presentation, pour the topping gently and chill briefly before slicing, and consider using an offset spatula to level the surface for a polished look.
How to Know When the Cheesecake Is Ready
The cheesecake is ready when the filling feels firm to the touch and no longer shifts when the pan is gently moved.
Visually, the surface should look smooth and level, without ripples or soft spots near the center. When sliced, the knife should pass through cleanly, and the slice should hold its shape when lifted.
The topping should feel set but not hard. It will have a soft sheen rather than a liquid shine. Aromatically, the cheesecake will smell lightly nutty and creamy, without sharp dairy notes, which indicates the flavors have settled.
From experience, the cheesecake tastes best after at least one full hour of rest after final chilling, as the flavors become more cohesive.
Common Problems and Fixes
Why is my cheesecake too soft?
This usually means it hasn’t chilled long enough or the whipped cream was under-whipped. Extending chilling time often solves the issue without adjustments.
Why does the base crumble when slicing?
Insufficient butter or loose packing can cause this. Pressing the base firmly and chilling it fully before adding the filling prevents crumbling.
Why did my topping separate or look dull?
Overheating pistachio cream can cause separation. Gentle heat and continuous stirring keep it smooth and glossy.
Can I fix a cheesecake that didn’t set properly?
In many cases, yes. Additional chilling time often improves structure significantly, especially overnight.
Storage and Maintenance
Short-Term Storage
This cheesecake should be stored covered in the refrigerator. It keeps well for up to three days, maintaining its structure and flavor.
Long-Term Storage
While freezing is possible, I recommend refrigeration for best texture. If freezing is necessary, slices should be wrapped individually and thawed slowly in the refrigerator.
Serving and Revival
Serve chilled straight from the refrigerator. For cleaner slices, I wipe the knife between cuts. I’ve found that letting the cheesecake sit at room temperature for five minutes before serving softens the texture slightly without losing shape.
How to Use This Recipe Next
This no-bake pistachio cheesecake works beautifully as a dinner party dessert, a weekend treat, or a make-ahead option for gatherings. It pairs well with fresh berries, coffee, or light fruit sauces. If you enjoy this style of dessert, it naturally leads into other no-bake cheesecakes and nut-based desserts, making it easy to expand your SavoryTribe recipe collection.