The Best Fluffy Pancakes recipe you will fall in love with. Full of tips and tricks to help you make the best pancakes.

Cooking Guide
How Long to Boil Eggs — Soft, Medium, and Hard
Boiling time determines everything about an egg’s texture — from a barely-set, runny yolk at 6 minutes to a fully firm, dry yolk at 13 minutes. This guide covers exact times for every result, the cold-start vs boiling-start debate, and the ice bath step that separates easy-peel eggs from a frustrating mess.
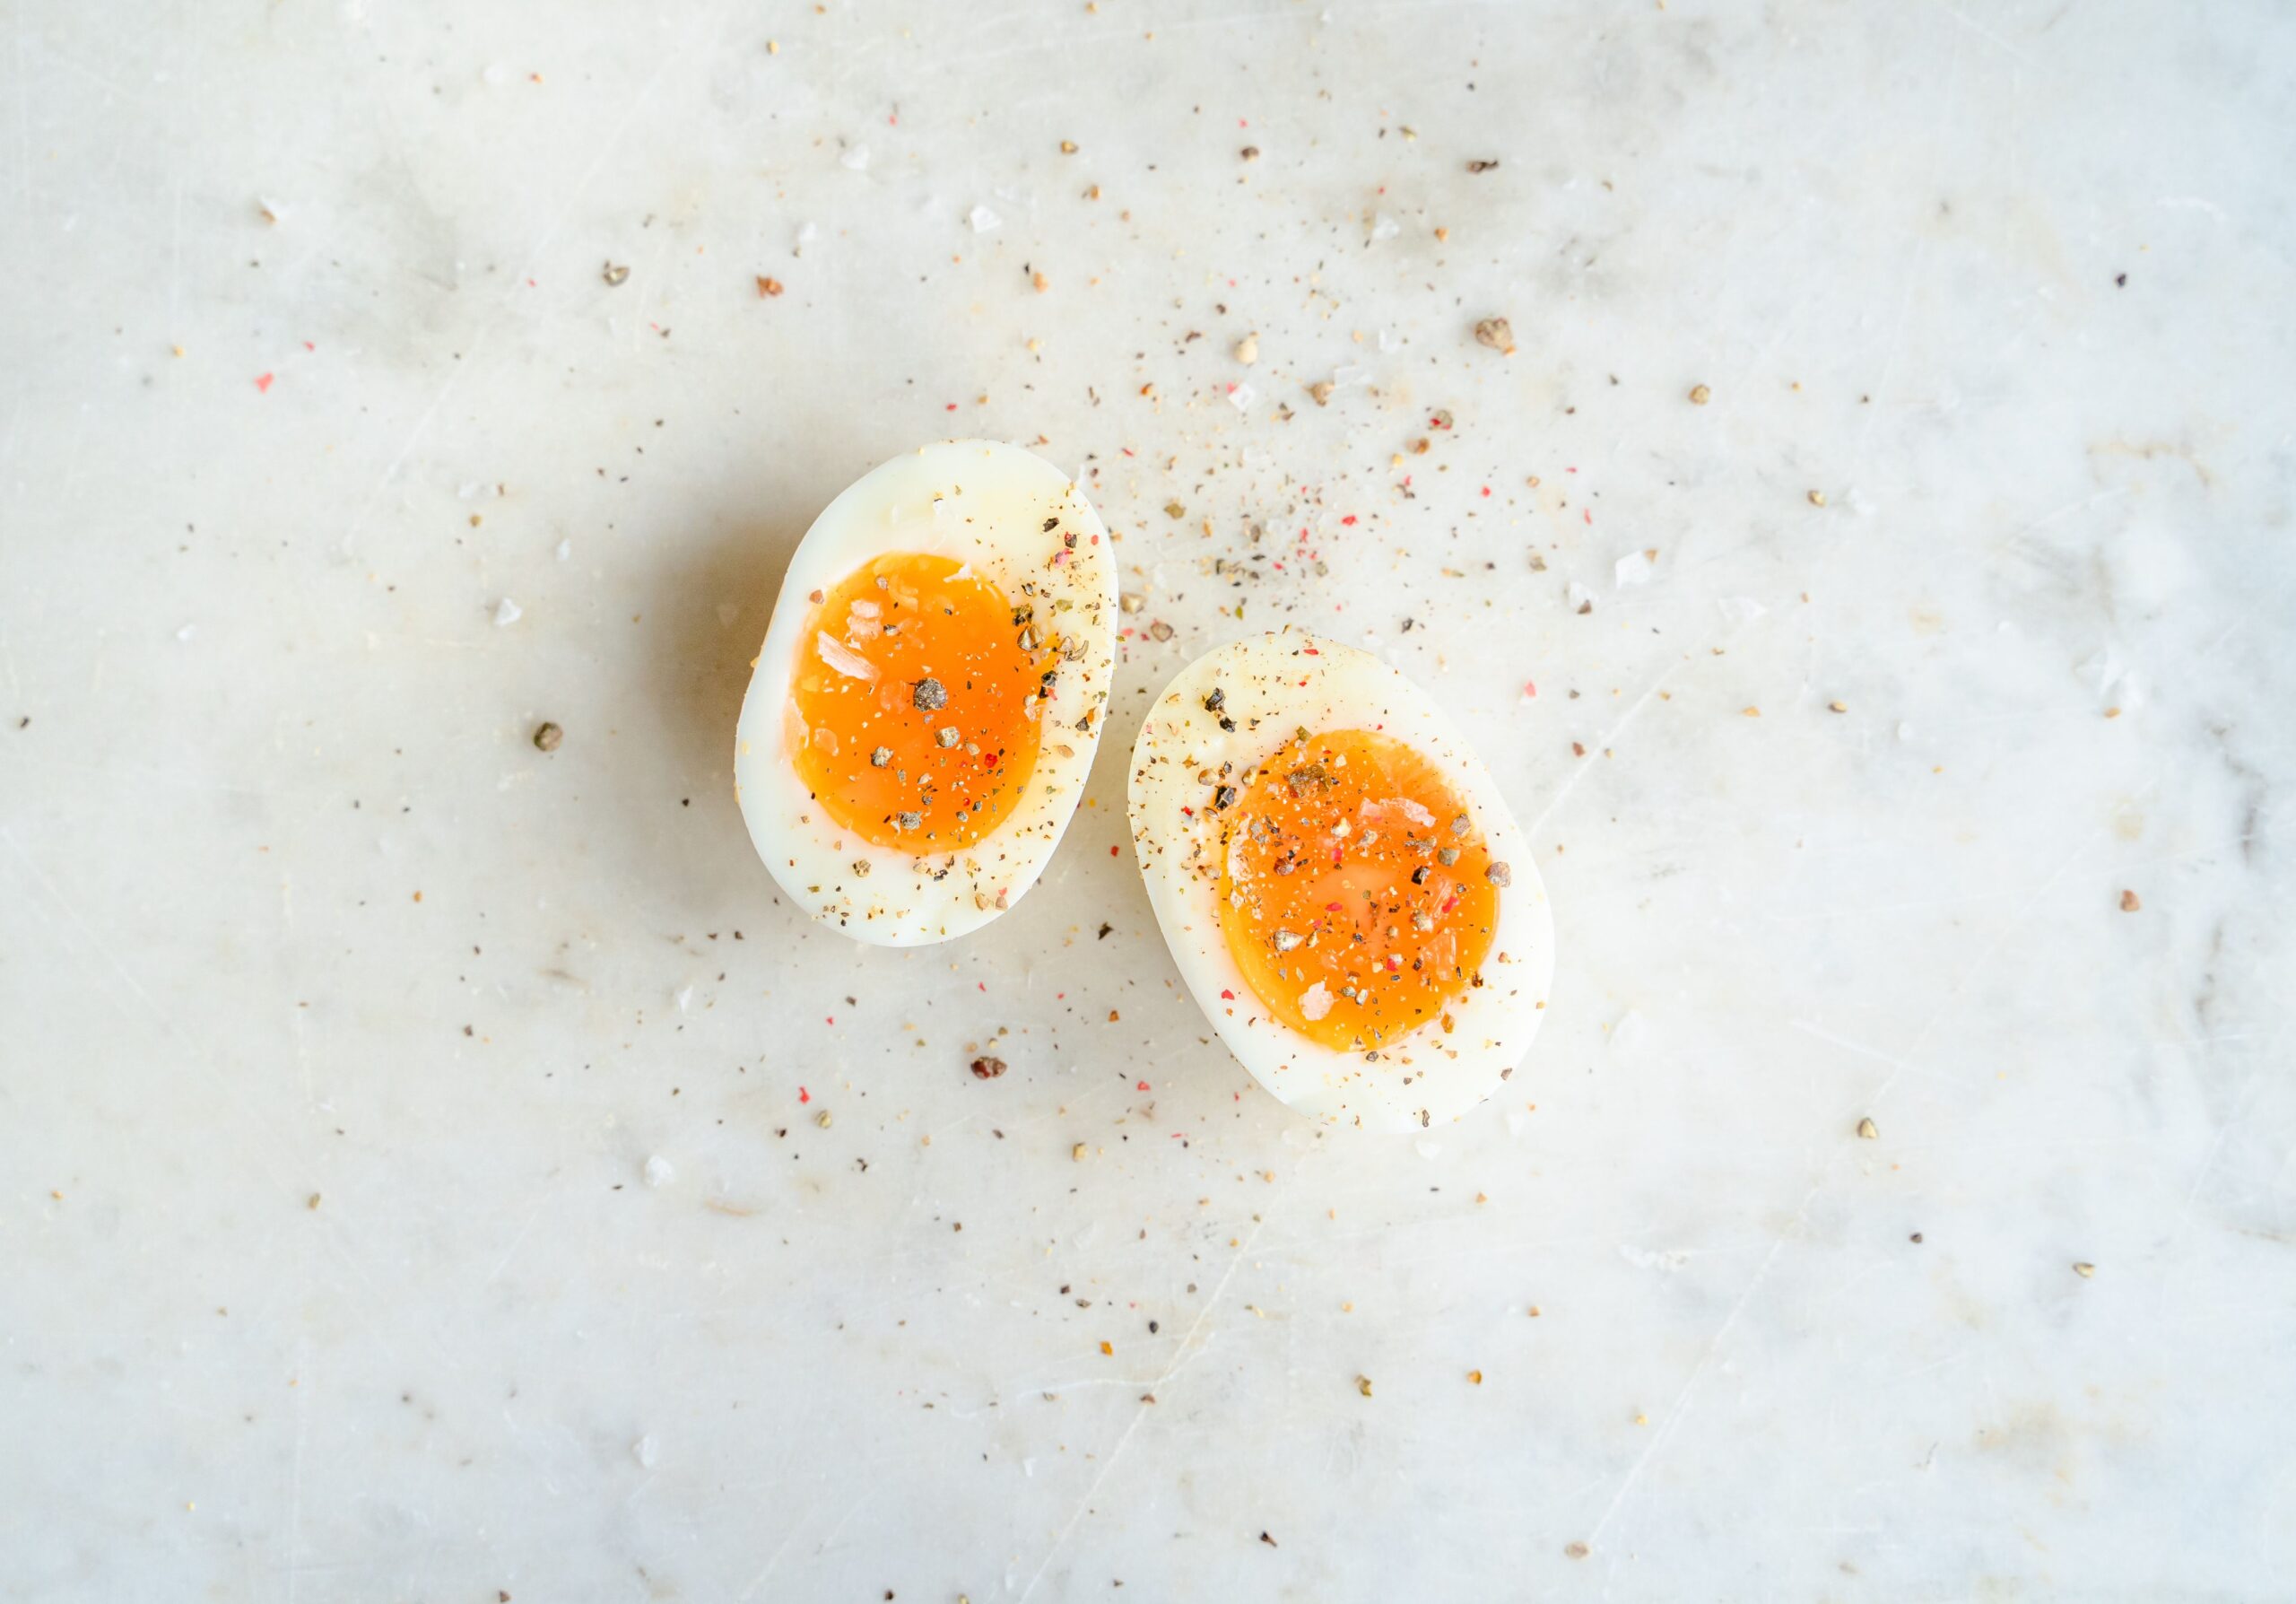
Every minute of boiling time changes the yolk’s texture — from liquid at 6 minutes to fully chalky at 13+ minutes.
⚡ Quick answer
Soft boiled: 6–7 minutes. Medium boiled: 9–10 minutes. Hard boiled: 12–13 minutes. All from boiling water, large eggs, straight from the fridge.
These times assume eggs go directly from the fridge into already-boiling water — the cold-start method adds 1–2 minutes to all estimates. Always transfer to an ice bath immediately after cooking to stop the process and prevent the grey ring around the yolk that forms from overcooking. Full minute-by-minute breakdown below.
Boiled egg timing is unforgiving in a way few other cooking tasks are — the difference between a perfect jammy yolk and an overcooked, crumbly one is a single minute. The reason is simple physics: egg proteins set progressively as temperature rises. The white sets first (around 145°F / 63°C), then the outer yolk (around 158°F / 70°C), then the centre of the yolk (around 170°F / 77°C). Every additional minute in boiling water raises the centre yolk temperature further, moving from liquid to jammy to fully firm to dry and chalky.
Two variables affect your timing beyond the clock: egg size and starting temperature. The times in this guide are calibrated for large eggs (about 56–63g) taken straight from a 38°F (3°C) refrigerator and placed into already-boiling water. If your eggs are room temperature, subtract 1 minute from all estimates. If you’re using extra-large or jumbo eggs, add 1 minute. Medium eggs subtract 1 minute. These aren’t rough adjustments — the size and temperature variables are the primary reason your boiled eggs might not be matching the timing guides you’ve tried before.
The other major variable is altitude — water boils at a lower temperature at elevation, which means eggs cook more slowly. Above 3,500 feet (1,050m), add 1 minute; above 7,000 feet (2,100m), add 2 minutes. At sea level in a well-calibrated kitchen, the table below is highly consistent.
6–7 min
Soft boiled — runny to jammy yolk
9–10 min
Medium boiled — set but creamy yolk
12–13 min
Hard boiled — fully firm yolk
Ice bath
Always — stops cooking, enables easy peeling
Boiled Egg Times by Result
From barely-cooked to fully set — every common boiled egg style, its timing, and what to expect when you peel it. All times from boiling water, large fridge-cold eggs.
Soft Boiled
6 min
Yolk: liquid, barely warm
White fully set but just barely. Yolk is warm and completely runny — flows when cut. Classic ramen egg territory. Fragile to peel; use gentle pressure.
Soft-Medium
7 min
Yolk: runny centre, soft edge
White firmly set. Yolk has a thin set outer layer but flows from the centre. Perfect for halving onto toast or grain bowls. The “dippy egg” result.
Jammy
8 min
Yolk: thick, fudgy, deep orange
The most sought-after result. Yolk is set enough to hold its shape when halved but still deeply orange and creamy throughout. Ideal for salads, rice bowls, and ramen.
Medium Boiled
9–10 min
Yolk: fully set, still moist
Yolk is fully set and pale yellow throughout but still moist and not dry. Holds its shape cleanly when sliced. Best for egg salad and devilled eggs that need structure.
Hard Boiled
12 min
Yolk: firm, no green ring yet
Fully set yolk that’s firm but not chalky. The white is fully cooked with no translucency. No green ring if transferred to ice bath immediately. Best all-purpose hard-boiled result.
Very Hard Boiled
13+ min
Yolk: firm, may show grey ring
Yolk is fully dry and crumbly. A grey-green ring around the yolk is likely — harmless but unappealing. Only useful when texture is irrelevant (egg salad with mayonnaise).
Boiling Time vs Egg Result — Full Reference Table
The table below covers every minute from 5 to 14, describing the exact white and yolk state at each point. Use it to dial in the precise result you’re after.
| Time in Boiling Water | White | Yolk | Best Use |
|---|---|---|---|
| 5 minutes | Set but soft, slightly translucent | Completely liquid and cool at centre | Sous vide-style soft egg in shell |
| 6 minutes | Fully set, tender | Runny, warm throughout | Dipping with toast soldiers, ramen |
| 7 minutes | Fully set, slightly firm | Runny centre, thin set edge | Toast topping, grain bowls |
| 8 minutes | Firm, clean peel | Jammy, thick, deep orange — holds shape | Salads, rice bowls, marinated ramen eggs |
| 9 minutes | Firm | Mostly set, pale orange, slightly creamy | Devilled eggs, egg salad |
| 10 minutes | Firm | Fully set, pale yellow, moist | Sliced egg sandwiches, Cobb salad |
| 12 minutes | Firm, fully opaque | Firm, fully set, no green ring | All-purpose hard boiled |
| 13–14 minutes | Firm, rubbery at edge | Dry, crumbly, grey-green ring likely | Egg salad (texture masked by mayo) |
| Times for large eggs (56–63g) from the fridge, placed into already-boiling water. Room-temperature eggs: subtract 1 minute. Extra-large eggs: add 1 minute. Medium eggs: subtract 1 minute. Transfer to ice bath immediately at time to stop cooking. | |||
The 8-minute jammy egg is the highest-reward result for the least effort — consistently orange, creamy, and visually striking. For marinated ramen-style eggs, peel 8-minute eggs and soak overnight in a mixture of soy sauce, mirin, and water (2:1:1 ratio). They keep in the marinade in the fridge for up to 5 days and improve with time.
SavoryTribe Cooking Tool
Kitchen Conversion Calculator
Convert cooking temperatures, weights, and measurements for any recipe — cups to grams, Fahrenheit to Celsius, and more.
How to Boil Eggs: Step by Step
The method matters as much as the timing. These four steps apply to any result — soft, medium, or hard — and produce consistent, easy-peel eggs every time.
1
Bring water to a full rolling boil before adding eggs
Use enough water to cover the eggs by at least 1 inch. Bring to a full rolling boil over medium-high heat — not a simmer, not a gentle boil. A full rolling boil maintains a consistent 212°F (100°C at sea level) throughout the cooking time, which is what makes timing reliable. Adding eggs to cold water and heating together (the cold-start method) produces less predictable results because the heating rate varies by pot size, burner power, and starting water temperature — though it does produce easier-peeling eggs in some cases (see the FAQ section).
2
Lower eggs gently into boiling water with a spoon
Use a slotted spoon or spider strainer to lower eggs one at a time into the boiling water. Dropping them in causes cracking from the thermal shock of cold egg against hot water and the physical impact. Lowering gently eliminates cracking almost entirely. If an egg does crack, a small amount of white may escape into the water — this is cosmetically imperfect but the egg is still safe and usable once cooled. Reduce the heat slightly to maintain a gentle boil rather than a violent rolling boil that tosses eggs around the pot.
3
Set a timer — use the table above for your target result
Start the timer the moment the eggs enter the water, not when the water returns to a boil. The 30–60 seconds it takes for the water to return to a boil after adding cold eggs is part of the cooking time. For a 6-minute soft boiled egg, the clock starts at egg entry. This is the most common timing mistake — waiting for the water to re-boil before starting the timer adds up to a full minute of extra cooking that isn’t accounted for.
4
Transfer immediately to an ice bath
The moment the timer goes, use the slotted spoon to transfer eggs directly to a bowl of ice water (equal parts ice and cold water). Leave for at least 5 minutes — longer for hard-boiled eggs. The ice bath does two things simultaneously: it stops the cooking process immediately (carryover heat in the egg will continue cooking the yolk for 1–2 minutes if left in hot water or on the counter), and it contracts the egg white slightly away from the membrane, making the shell dramatically easier to peel. Skipping the ice bath is the single biggest cause of difficult peeling and overcooked yolks.
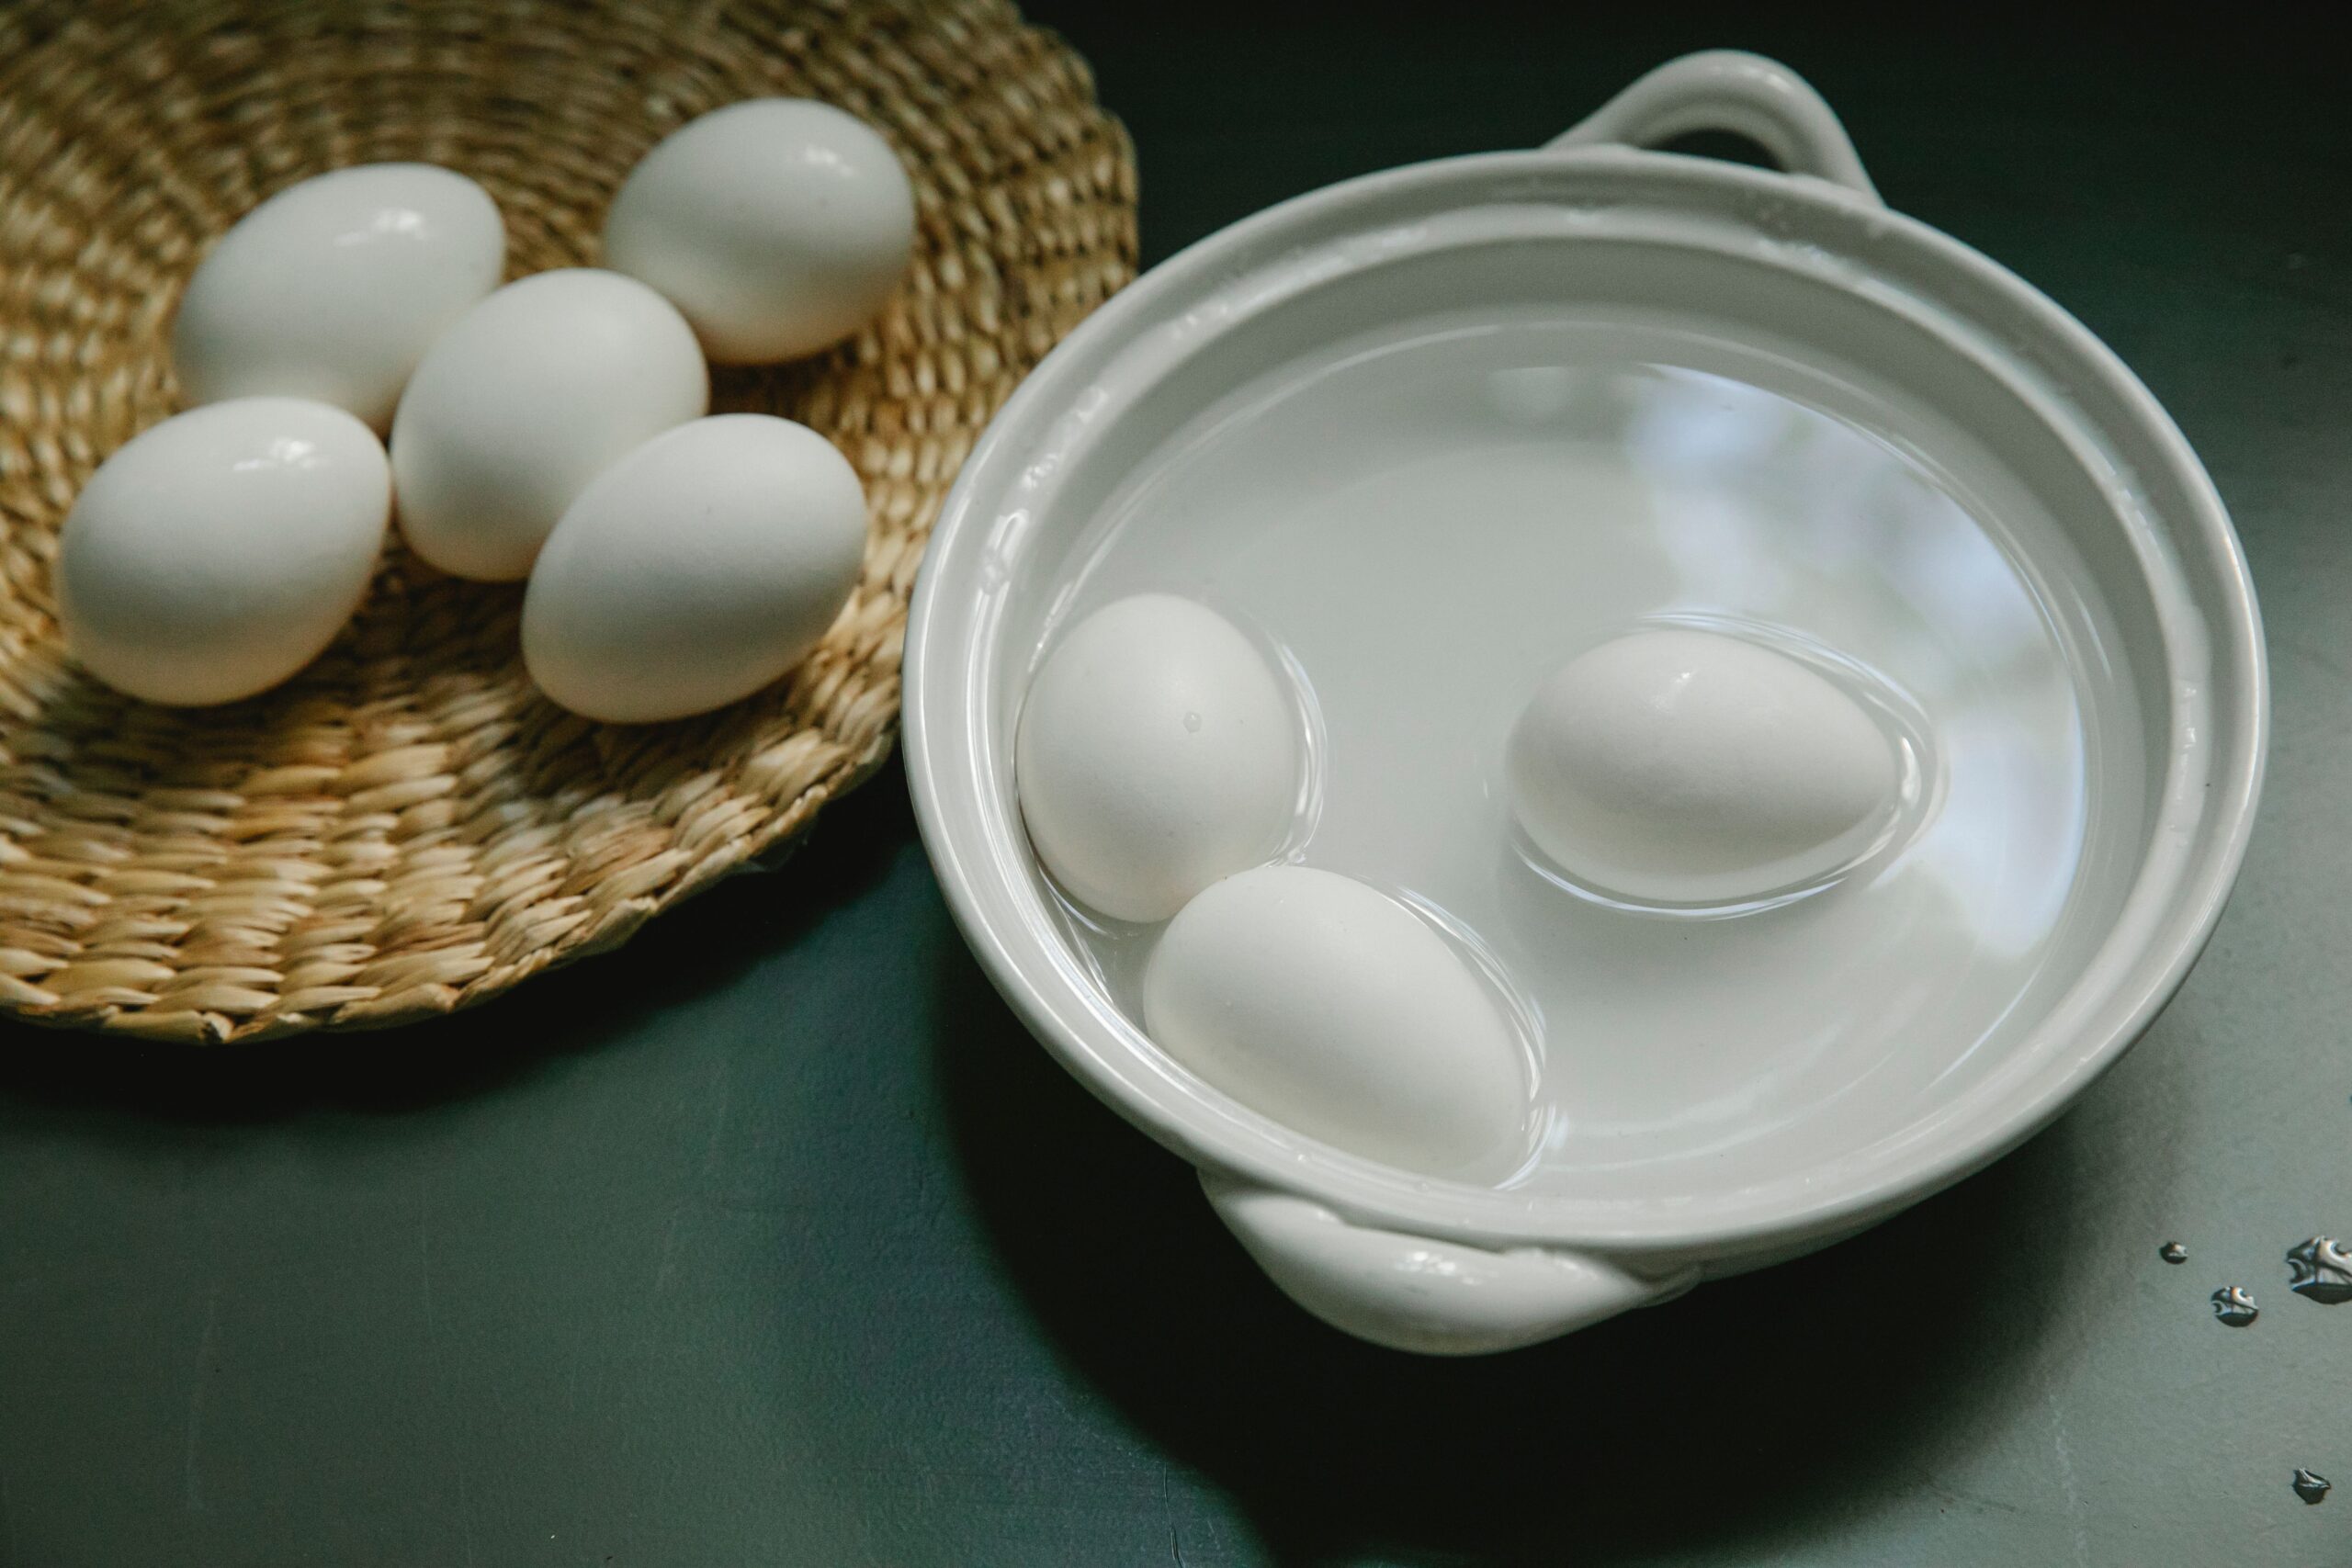
Ice bath immediately after cooking — 5 minutes minimum. This stops the yolk cooking, prevents the grey ring, and makes the shell peel cleanly.
How to Peel Boiled Eggs Easily
Difficult-to-peel eggs are almost always a function of egg freshness, water temperature at cooking start, and whether an ice bath was used. Here’s what actually works and why.
Fresh Eggs vs Older Eggs
This is the most important peeling variable and the least intuitive one. Fresh eggs are harder to peel than older ones. As eggs age, the air cell at the blunt end expands and the inner membrane separates slightly from the shell — giving you a natural gap to work with when peeling. A very fresh egg has a tight membrane adherent to the shell, and the white itself is more acidic (lower pH), which causes it to bond to the inner membrane more firmly. For eggs destined for hard boiling and peeling, use eggs that are at least 1 week old. This sounds counterintuitive but is consistently validated by food science testing.
Peeling Technique
After the ice bath, peel under running cold water or submerged in the bowl of water. Crack the blunt end first — that’s where the air cell is and where the membrane has the most separation. Roll the egg gently on the counter to crack the shell evenly all over, then peel starting from the blunt end, keeping your thumb under the membrane (not just the shell) and peeling in sections. The water helps by getting between the membrane and the white, reducing resistance. If a piece of white is tearing off with the shell, slow down — you’re pulling the shell faster than the membrane separation allows.
Hot-Start vs Cold-Start: Which Method Is Better?
⚠️ Cold-Start Method
Eggs into cold water, then heat
Less predictable timing because heating rate varies by pot and burner. Produces slightly easier-peeling eggs in some cases. Hard to execute a 6-minute soft boil reliably. Better for large batches where you want the eggs to heat gradually and crack less.
✅ Hot-Start Method
Eggs into already-boiling water
Consistent, precise timing from the moment eggs enter the water. The right method for soft-boiled and jammy eggs where every minute matters. Start timer at egg entry — not when water returns to boil. Use ice bath to stop cooking exactly on time.
The grey-green ring around hard-boiled yolks is caused by overcooking — not undercooking. It forms when hydrogen sulphide (from the white) reacts with iron in the yolk at temperatures above 158°F (70°C) sustained for too long. It’s completely harmless to eat but indicates the egg was cooked longer than necessary. Prevent it by: using the 12-minute boiling time (not 14+) and transferring to an ice bath immediately. An ice bath alone reduces grey ring formation dramatically even if your timing ran a little long.
A properly jammy 8-minute egg has a deeply orange, glossy yolk that holds its shape when halved — the result of an immediate ice bath and precise timing.
Key Takeaways
- Soft boiled: 6–7 minutes. Jammy: 8 minutes. Medium: 9–10 minutes. Hard boiled: 12 minutes. All from already-boiling water, large fridge-cold eggs.
- Start the timer when eggs enter the water — not when the water returns to a boil. That 30–60 second gap is cooking time that shifts your result by a full stage.
- Always use an ice bath immediately after cooking. This stops carryover cooking, prevents the grey ring, and makes eggs significantly easier to peel.
- Room-temperature eggs subtract 1 minute. Extra-large eggs add 1 minute. Above 3,500 feet altitude, add 1 minute.
- Older eggs (1+ week) peel more cleanly than very fresh eggs — the inner membrane separates more easily from the shell with age.
- The grey-green ring is caused by overcooking — use 12 minutes maximum and an ice bath to prevent it entirely.
Frequently Asked Questions
How long do you boil an egg for soft boiled?
6 minutes for a runny, completely liquid yolk with a fully set white. 7 minutes for a runny centre with a slightly thicker set edge — the classic dippy egg result. 8 minutes for a jammy, fudgy yolk that holds its shape when halved but is still deeply orange and creamy. All times assume large fridge-cold eggs lowered into already-boiling water, timer starting at egg entry, transferred to an ice bath immediately at time. Room-temperature eggs subtract 1 minute from all figures.
How long do you boil an egg for hard boiled?
12 minutes for a fully set, firm yolk with no grey ring. 13–14 minutes produces the same result but the yolk becomes dry and crumbly and a grey-green ring is likely to appear around it. The 12-minute mark — followed immediately by an ice bath — is the sweet spot that gives you a fully cooked, firm yolk without the texture and appearance penalties of overcooking. Do not go beyond 14 minutes for any reason; it adds no food safety benefit and only degrades the result.
Why are my boiled eggs hard to peel?
The most common cause is very fresh eggs — eggs purchased the same day or within the last 2–3 days have a tighter inner membrane and a lower-pH white that bonds to the shell more strongly. Use eggs that are at least 7 days old for hard boiling. Other causes: skipping the ice bath (which contracts the white away from the membrane), cold-starting instead of hot-starting (hot-start produces a slightly better separation), and peeling while still warm rather than after a full 5-minute ice bath. Peeling under cold running water with your thumb under the membrane rather than just the shell also helps significantly.
What causes the grey ring around hard-boiled egg yolks?
The grey-green ring is a reaction between hydrogen sulphide released by the egg white proteins and iron in the egg yolk — it forms ferrous sulphide at the yolk surface when the egg is cooked above 158°F for too long. It’s completely harmless to eat but indicates overcooking. Prevent it by: using 12 minutes of boiling time (not 13–14), and transferring to an ice bath immediately when the timer goes. The ice bath is actually the more important of the two — it stops the reaction from progressing even if the timing ran slightly long.
Should I use the cold-start or hot-start method?
Hot-start (eggs into already-boiling water) is more precise and is the recommended method for soft-boiled and jammy eggs where timing matters by the minute. Cold-start (eggs into cold water, bring to boil) is less precise because heating rate varies, but some cooks prefer it for hard-boiled eggs as it may reduce cracking and produce slightly easier peeling in some cases. For hard-boiled eggs specifically, the Serious Eats cold-start method — bring to boil, immediately cover and remove from heat, leave covered for 12 minutes — produces consistent results with good peelability. Either method works for hard boiled; only hot-start is reliable for soft boiled.
How long do boiled eggs last in the fridge?
Hard-boiled eggs in the shell last up to 1 week in the fridge. Peeled hard-boiled eggs should be stored submerged in cold water in a covered container and used within 5 days — change the water daily to maintain freshness. Soft-boiled eggs are best eaten within 2 days of cooking; the liquid yolk doesn’t hold as well in storage. Do not store any boiled eggs at room temperature for more than 2 hours. Marinated ramen-style eggs (peeled, soaked in soy-mirin solution) keep well for up to 5 days in the fridge in the marinade.
Can you boil eggs from frozen?
No — raw eggs in their shell should never be frozen. The water in the white and yolk expands when frozen, cracking the shell and rupturing the yolk membrane, producing an unusable result. Eggs are also one of the few foods where freezing in the shell is specifically not recommended for food safety. If you need to freeze eggs for later use, crack them into a container, beat lightly, add a pinch of salt or sugar (to prevent the yolk from becoming gummy on thawing), and freeze in an airtight container. Frozen beaten eggs keep for up to 3 months and can be used in scrambled eggs, baking, or omelettes after thawing.
SavoryTribe Cooking Tool
Kitchen Conversion Calculator
Convert temperatures (Fahrenheit to Celsius), weights, and measurements for any recipe — everything in one place.